Fall is the best time to transplant most shrubs and perennials, because cool air and still-warm soil let roots settle in before winter. Wait until plants go dormant, roughly 4 to 6 weeks before your first hard frost, then dig a wide root ball, replant at the original soil depth, water deeply, and mulch.
Disclosure: some links in this guide are affiliate links to Amazon. As an Amazon Associate, Spear Head Spade earns from qualifying purchases. This is at no extra cost to you, and it never changes our honest, use-based recommendations.
Is fall really the best time to transplant shrubs and perennials?
For most of what grows in a home garden, yes. The old saying "fall is for planting" is not marketing, it is soil science. In autumn the top growth slows and goes dormant, but the ground stays warm for weeks after the air turns cool. Roots keep growing in warm soil right up until it freezes, so a plant moved in fall spends all of its energy rebuilding roots instead of pushing leaves and flowers. Once the moving is done, our garden winterizing checklist covers the rest of the fall work, and the frost protection guide covers the nights that turn cold early. This page is one stop on our fall yard cleanup tools checklist, which puts every fall job in order.
Compare that to a spring or summer move. In spring the plant is trying to leaf out and root at the same time, and a summer transplant has to survive heat and drought while its root system is cut in half. A dormant plant asks for very little. That is why fall transplants generally settle in faster and show far less transplant shock, and why they are usually well established by the time growth restarts the following spring.
There are exceptions, and they matter. Spring bloomers, broadleaf evergreens, and anything only marginally hardy in your zone are safer moved in early spring. We will sort those out below.

When should you transplant shrubs and perennials in fall?
The one rule that covers almost every case: transplant about 4 to 6 weeks before your first hard frost. That window gives roots enough warm soil to establish before the ground locks up. Move a plant too late and the roots never take hold, which is the single most common reason a fall transplant fails.
Beyond the frost rule, watch the plant itself:
- Deciduous shrubs: wait until they drop most of their leaves. Leaf drop is the plant telling you it is dormant and ready to move.
- Perennials: move or divide them after they finish blooming and the foliage starts to fade. Cut the top growth back by about a third to a half first so the plant is not trying to support leaves it no longer needs.
- Weather: pick a cool, overcast day if you can, ideally before a stretch of rain. Cloud cover and moist soil reduce stress on exposed roots.
First-frost dates vary widely by region, so treat the table below as a starting point and confirm your local date before you dig.
| USDA zone | Typical first hard frost | Best window to transplant |
|---|---|---|
| 3 to 4 | Mid September to early October | Late August to mid September |
| 5 | Late September to early October | Early to late September |
| 6 | Mid to late October | Mid September to early October |
| 7 | Late October to mid November | Late September to late October |
| 8 | November | October into early November |
| 9 to 10 | December or none | November into December |
What can you move in fall, and what should wait until spring?
Fall is forgiving, but it is not universal. As a rule, hardy deciduous shrubs and summer-blooming or foliage perennials are excellent fall movers. Anything that blooms in early spring, most broadleaf evergreens, and plants living at the edge of their cold tolerance do better moved in spring, because they need a full growing season to recover before facing winter.
| Good to move in fall | Better to wait until spring |
|---|---|
| Deciduous shrubs after leaf drop (spirea, hydrangea, viburnum, ninebark) | Early spring bloomers you would lose flowers on (lilac, forsythia, azalea) |
| Summer and fall perennials (daylily, hosta, coneflower, sedum, iris) | Broadleaf evergreens (rhododendron, boxwood, holly) in colder zones |
| Ornamental grasses once dormant | Marginally hardy or newly purchased plants not yet rooted in |
| Peonies, which strongly prefer a fall move | Anything you can only move in the middle of a hot, dry spell |
When in doubt, ask whether the plant will have 4 to 6 weeks of warm soil after you move it. If not, hold off until spring.
What tools do you need to transplant cleanly?
A clean transplant is mostly about clean cuts. The more you tear roots instead of slicing them, the harder the plant works to recover. Keep it simple:
- A sharp spade for scoring and lifting the root ball. This is the tool that does the real work.
- A tarp or old sheet to set the root ball on, drag it to the new hole, and keep soil off the lawn.
- A full watering can or hose ready before you start, not after.
- Mulch (shredded bark, leaf mold, or compost) to insulate roots once the plant is in.
- Hand pruners for cutting back top growth and cleaning up any damaged roots.
The spade is where the job is won or lost. A 40" D-Handle Garden Spade has a spearhead blade sharpened tip to tail, so it enters the soil at a point and slices outward as it sinks. That shape lets you score a clean circle around a shrub and cut straight through the roots that hold it, digging with up to 80% less effort than a standard shovel. In hard, clay, or rocky ground, where transplanting usually goes wrong, that clean slicing action is the difference between lifting an intact root ball and wrestling a torn one out of the earth. If you garden mostly in raised beds or tight borders, the 30" Mini Garden Spade gives you the same blade in a shorter, more maneuverable body, and the 58" Long Handle Spade adds leverage for prying larger root balls free. For more on cutting cleanly through a stubborn root mass, see our guide on how to cut through roots when digging.
How do you transplant a shrub without killing it?
Most shrub losses come from a torn or undersized root ball and from planting at the wrong depth. Work methodically and you avoid both.

1. Root-prune a few weeks ahead (optional but powerful)
For larger or established shrubs, score a circle with your spade around the plant three to six weeks before the move, cutting straight down to sever the outer roots. This prompts the shrub to grow a flush of fine feeder roots inside that circle, so the root ball you eventually lift is denser and recovers faster. Water well after root-pruning.
2. Prep the new hole first
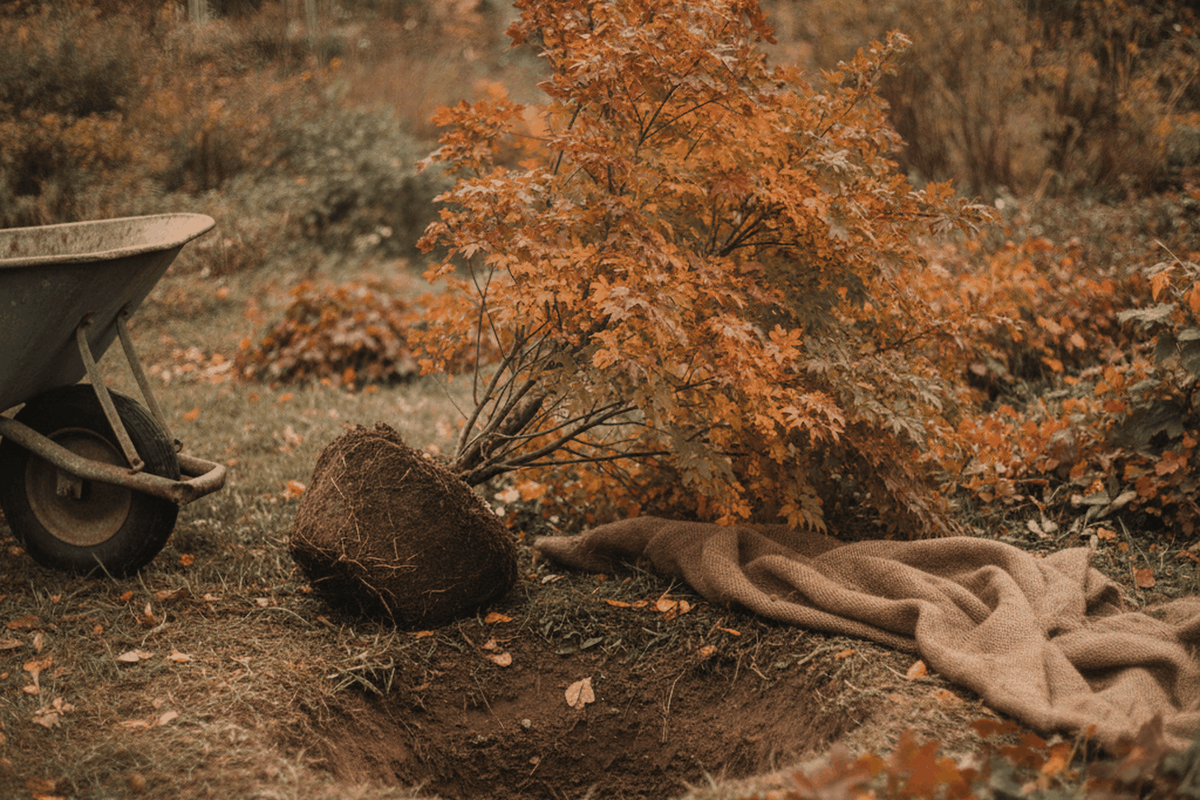
Dig the new hole before you lift the shrub, so exposed roots spend as little time in the open air as possible. Make it about twice as wide as the expected root ball but no deeper. Roughen the sides so roots can push out, and set the loose soil on your tarp.
3. Measure and dig a wide root ball
Wider is always better than deeper, because most feeder roots live in the top several inches of soil. For a shrub up to about three feet tall, aim for a root ball roughly 12 to 18 inches across and 10 to 12 inches deep. Drive the spade in vertically all the way around the plant to cut a clean edge, then angle the blade underneath to slice the anchoring roots and free the ball.
4. Lift and move on the tarp
Rock the root ball loose, slide the tarp underneath, and drag it to the new hole rather than carrying it by the stems. Keep the ball intact and never let the roots dry out. If there is any delay, cover the roots with damp burlap.
5. Replant at the same depth
This is the step people get wrong. Set the shrub so the soil line on the trunk sits exactly where it did before, level with the surrounding ground. Planting too deep suffocates roots and rots the crown. Lay your spade handle across the hole as a straightedge to check the level before you backfill.
6. Backfill without air pockets, then water in
Backfill with the same native soil, firming gently with your hands as you go to eliminate air pockets. Do not stomp it hard. When the hole is two-thirds full, water thoroughly to settle the soil, let it drain, then finish backfilling and water again. Build a small soil ridge around the edge to hold water, and mulch two to three inches deep, keeping it a few inches back from the trunk. A shrub spending the fall rebuilding roots cannot also afford to be browsed to the ground, and deer pressure rises as other food disappears, so our deer repellent picks cover what to put out before winter.
How do you divide and transplant perennials in fall?
Dividing is the same skill on a smaller scale, and it does double duty. It rejuvenates crowded, tired clumps and gives you free plants for the rest of the garden. Divide most perennials every three to four years, or whenever the center of the clump dies out and flowering drops off.

- Cut back the foliage by about half so you can see what you are doing and reduce stress on the roots.
- Dig up the whole clump. Drive your spade in a full circle a few inches outside the crown, then lever the entire clump out of the ground.
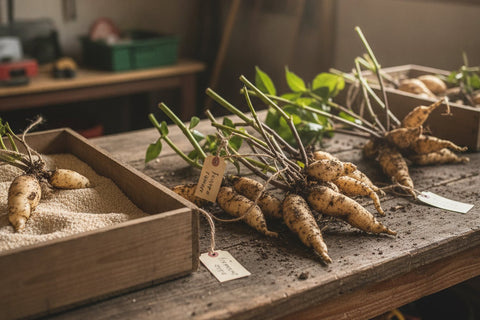
- Split it into sections. For fibrous-rooted perennials like hosta and daylily, slice down through the clump with the spade to make divisions, each with several healthy shoots and a good share of roots. Loose, matted clumps can often be pulled apart by hand or with two forks back to back.
- Trim and discard the dead center. Keep the vigorous outer pieces and compost the woody, worn-out middle.
- Replant promptly at the same depth. Space divisions according to their mature size, set the crown level with the soil surface, firm in, and water. Crowns planted too deep are the usual reason a division fails to bloom.
A knee pad saves your joints during all this ground-level work, and a Garden Kneeler is worth keeping beside you. For lighter clean-up and weeding around the freshly planted divisions, the 59" Garden Hoe lets you cultivate without bending.
How do you care for transplants through winter?
The move is only half the job. What you do over the following weeks decides whether the plant roots in or dies back.
- Water deeply, not often. Give a slow, thorough soak right after planting, then keep watering every week or so, whenever the soil is dry an inch down, until the ground freezes. Deep watering encourages roots to chase moisture downward.
- Mulch for insulation. A two to three inch layer of mulch moderates soil temperature and keeps the ground warm enough for roots to keep growing longer into fall. It also buffers the freeze and thaw cycles of winter.
- Skip the fertilizer. Do not feed fall transplants. Fertilizer pushes tender top growth that will not harden off before frost. Save feeding for spring.
- Guard against frost heave. Repeated freezing and thawing can literally push shallow-rooted transplants out of the ground. Mulch prevents most of it, and if you see a plant lifting, gently press it back down and add mulch.
What are the most common transplanting mistakes?
Nearly every failed transplant traces back to one of these:
- Planting too deep. Match the original soil line every time. Burying the crown or trunk is the number one killer.
- Letting roots dry out. Exposed roots die fast. Have the new hole ready and keep the ball covered and moist.
- Leaving air pockets. Unsettled soil around the roots dries them out. Firm gently and water in stages.
- Digging a root ball that is too small. Go wide. A torn, undersized ball is the most common cause of transplant shock.
- Moving too late. Respect the 4 to 6 week frost window. Roots need warm soil to establish.
- Over-fertilizing. Feeding now forces growth the plant cannot protect. Wait for spring.
Choosing the right tool for your soil prevents a surprising number of these problems too. If you are still deciding what to dig with, our honest breakdown of a spade vs a shovel explains why a slicing spade beats a scooping shovel for clean root cuts.
Can you plant hydrangeas in the fall?
Yes. Plant hydrangeas in fall as long as they go in at least 6 weeks before your first hard freeze, and early fall is better than late. Container-grown plants transplant most easily. Keep them watered until the ground freezes, mulch 2 to 3 inches, and skip pruning until spring.
Site them where they get morning sun and afternoon shade, in soil that stays moist without staying wet. Then use the same hole rule as any other shrub in this guide: dig it about twice as wide as the root ball and no deeper, roughen the sides so roots can push out, and set the plant so the soil line on the stems sits level with the surrounding ground. Backfill with the native soil you took out, firming gently with your hands to close air pockets. Water when the hole is two-thirds full, let it drain, finish backfilling, and water again.
Which hydrangea you have decides how forgiving the move is. Panicle types such as Limelight and smooth types such as Annabelle flower on new wood and are hardy into zone 3 or 4, so a fall move costs you nothing the following summer. Bigleaf hydrangeas, the blue and pink mopheads, set most of their flower buds the previous season on old wood, and those buds sit exposed on the stems all winter. Move a bigleaf in fall in zone 5 or colder and you may get a season of good leaves and few flowers, so in hard-winter gardens that one is better moved in early spring.
Move your plants the easy way this fall
A clean root ball is the whole game, and a sharp, well-shaped spade is how you cut one. The 40" D-Handle Garden Spade is the tool built for exactly this work: a spearhead blade of tempered carbon-manganese steel that slices through roots and hard soil with up to 80% less effort than a standard shovel. It is double patented, comes from our family business in New Jersey, and holds a 4.9 average from more than 500 reviews. With over 600,000 sold, it was named "Best Shovel/Spade" by Better Homes and Gardens in 2025. Shop the 40" D-Handle Spade, or see the full lineup on our all products page.
Tools for this job
The short kit from the tools section above, with a link for each.

Spear Head Spade 40 inch D-Handle Garden Spade
Scores a clean circle around the shrub and cuts straight through the anchoring roots, so you lift an intact root ball instead of a torn one.
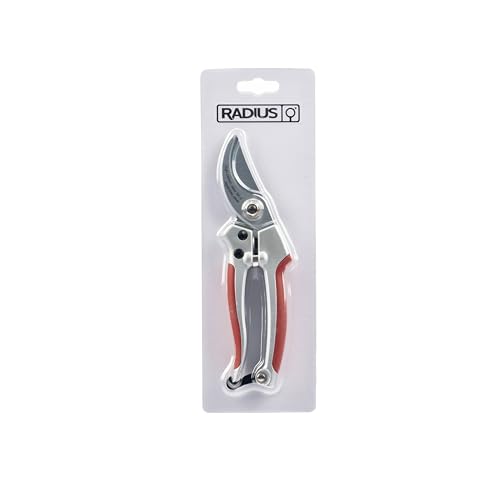
Radius Garden PRO digging fork
Two forks levered back to back tease a matted perennial clump apart without slicing every root.
amazon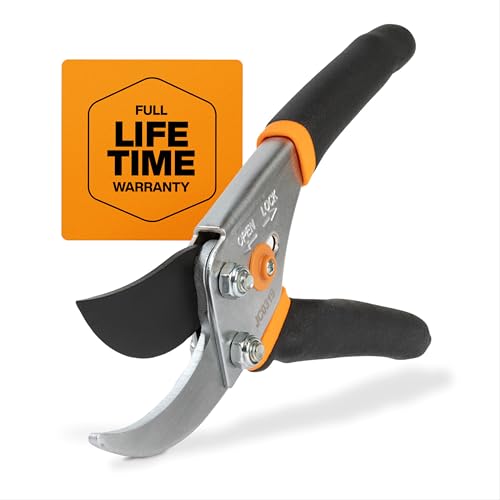
For cutting top growth back by a third to a half and trimming any damaged roots before replanting.
amazon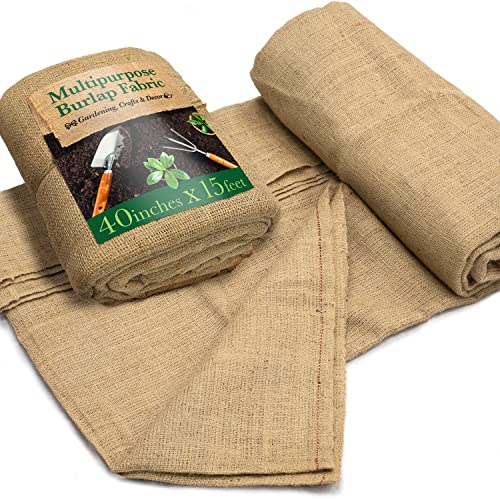
Natural burlap roll, 40 inches by 15 feet
Keep a length damp and draped over the roots if there is any delay between lifting and replanting.
amazon
Gilmour 75 foot flat soaker hose
Lay it around new transplants for the slow, deep weekly soak the guide calls for until the ground freezes.
amazonFrequently asked questions
How late in the fall can you transplant shrubs?
Transplant no later than about 4 to 6 weeks before your first hard frost. That gives roots enough warm soil to establish before the ground freezes. Moving a shrub too close to a hard freeze is the most common reason a fall transplant fails, so if that window has passed, wait for early spring.
Can you move shrubs in October?
In most zones, yes. October falls right inside the ideal window for zones 6 through 8, especially once a deciduous shrub has dropped its leaves and gone dormant. In colder zones 3 to 5, early October may already be too late, so check your local first-frost date first.
How big should the root ball be when moving a shrub?
Go wider than you think. For a shrub up to about three feet tall, aim for a root ball roughly 12 to 18 inches across and 10 to 12 inches deep. Width matters more than depth because most feeder roots sit near the surface. A wide, intact ball is the best defense against transplant shock.
Should you water and mulch after transplanting in fall?
Yes to both. Water deeply right after planting, then every week or so until the ground freezes. Add a two to three inch layer of mulch to insulate roots and extend root growth into fall. Skip fertilizer, which forces tender growth that will not survive winter.
Which plants should you not move in fall?
Hold off on early spring bloomers like lilac and forsythia, most broadleaf evergreens such as rhododendron and boxwood in colder zones, and anything only marginally hardy where you garden. These need a full growing season to recover, so move them in early spring instead.
More fall planting jobs
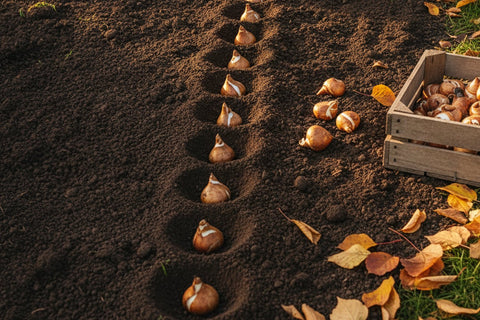
Autumn is also the window for two crops that go in now and come up next year. Our guides cover how to plant tulip bulbs and how to plant garlic, both of which want to be in the ground before the first hard freeze. If you are putting in a tree rather than moving a shrub, how to plant a tree covers the root flare and depth details that decide whether it establishes.