A clean edge is the fastest way to make a garden look cared for. Beds can be half weeded and borders can be thin, but if the line between bed and lawn is crisp, the whole yard reads as tidy. It is the highest return on effort in the garden, and most of it is technique rather than equipment.
Disclosure: some links in this guide are affiliate links to Amazon. As an Amazon Associate, Spear Head Spade earns from qualifying purchases. This is at no extra cost to you, and it never changes our honest, use-based recommendations.
This guide covers both halves of edging: the cut edge you make with a blade, and the installed border you put in the ground. It also covers the part most articles skip, which is how to keep an edge once you have it, because an edge that collapses in six weeks is not worth the afternoon. If the lawn side of that edge is compacted, our lawn aeration guide covers the fix, and the fall lawn fertilizer picks cover the feeding that follows. If you are cutting a new bed out of lawn rather than re-edging an old one, start with our guide to removing sod. For the concrete and asphalt edges a spade does not suit, our lawn edger picks cover manual, cordless and gas.
What a garden edge actually does
An edge is a barrier and a visual line at the same time. The barrier job matters more than people expect. Lawn grass spreads sideways by rhizomes and stolons, and it will creep into a bed continuously all season. Extension guidance puts that advance at roughly three to four inches a year, which is why a bed left unedged for a few seasons ends up visibly smaller than it started. A defined edge interrupts that spread, which means less hand weeding along the border and less mulch migrating into the turf.
The visual job is why edging is worth doing even where creep is not a problem. A sharp line gives the eye something to follow, separates two textures that would otherwise blur together, and makes curves read as deliberate instead of accidental. It is the same reason a haircut looks better cleaned up at the neck.
The two kinds of edging
Almost every edging question comes down to which of these you actually want.
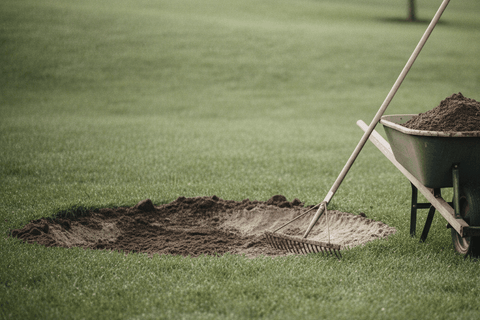
A cut edge, sometimes called a trench edge, spade edge or English edge, is a shallow V or vertical trench cut into the soil at the bed line. There is no material involved. You cut it, you remove the sod, and the gap itself is the barrier. It costs nothing but labor, it suits curves perfectly, and it can be reshaped any time you change your mind. It needs redoing once or twice a season.
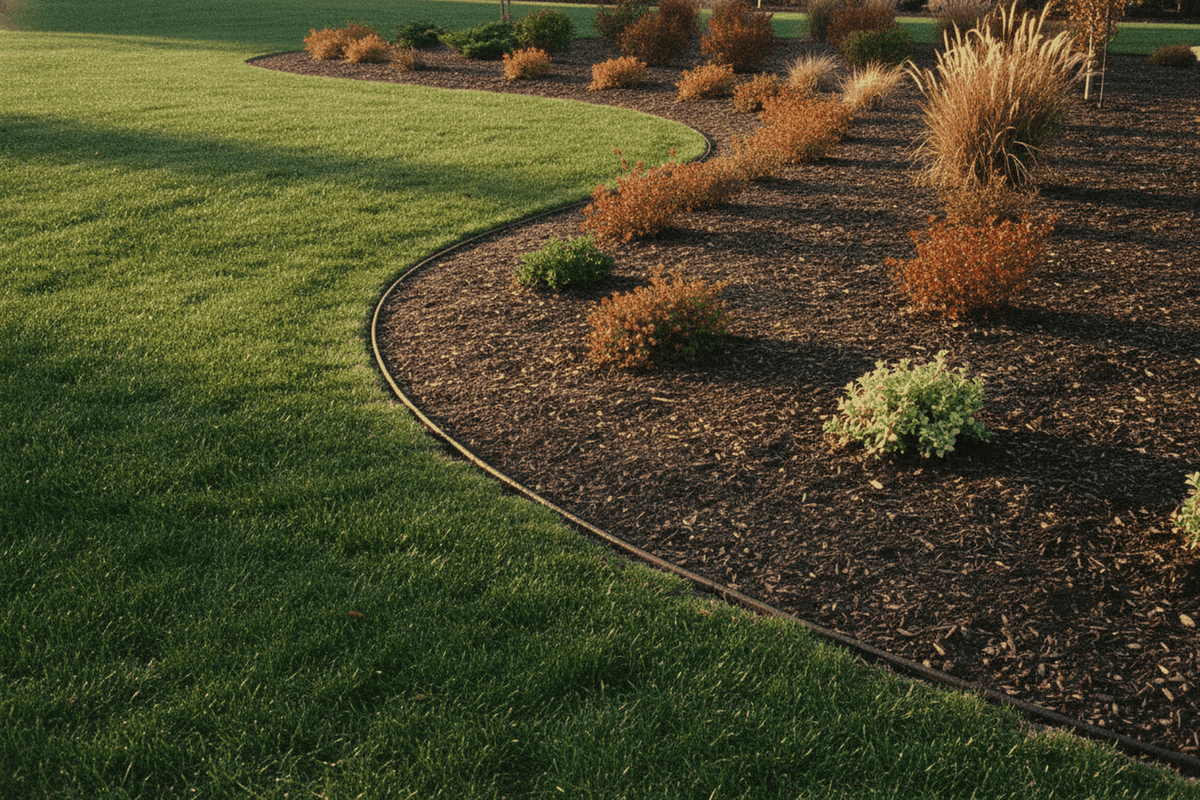
An installed border is a physical material set into the ground: steel, aluminum, plastic, brick, stone, pavers, poured concrete or timber. It holds its line for years with little attention, it can act as a mowing strip, and it resists creep better than a cut edge. It costs money, it takes longer to install, and it commits you to that shape until you dig it out.
Plenty of gardens use both. A cut edge along informal borders where the shape still changes, and installed edging where a bed meets a path or a lawn you mow tight.
How to cut a clean bed edge
This is the technique that does most of the work. Take your time on the first pass of the season, because every later pass just follows the line you set now.

1. Set the line before you cut anything
For a straight run, stretch a string line between two stakes and work to it. For a curve, lay a garden hose on the ground and shift it until the shape looks right from where you will actually see the bed, which is usually a window or the approach to the house rather than from directly above. Leave the hose in the sun for a while and it will relax into a smoother curve. Curves that look good are almost always fewer and broader than the ones people first lay out.
2. Cut the outer line first
Work with the blade vertical, not angled, and drive it in to a consistent depth of about four to six inches. Consistency matters more than depth. Overlap each cut slightly with the last so you do not leave uncut bridges, and keep your weight over the tool rather than pushing forward, which is what makes an edge wander.
Step on the foot rest rather than stamping. Steady body weight gives a cleaner cut and a straighter line than force does, and it is far easier on your back over a long border.
3. Make the relief cut
Come back along the bed side of the line and make a second cut angled in toward the first, roughly forty five degrees, so the two cuts meet at the bottom. This releases a wedge of soil and sod. Without this second cut you are trying to lever out material that is still attached on both sides, which is where edging turns into a fight.
4. Lift the wedge and clean the trench
Lever the loosened wedge out and shake the soil off the sod before you bin or compost it. Then run the blade along the trench once more to square the wall on the lawn side. The bed side can slope. The lawn side is the line people see, so that is the one worth being fussy about.
5. Finish the mulch to the edge
Pull mulch back so it sits just below the top of the cut rather than spilling over it. Mulch heaped over the edge is the single most common reason a fresh edge stops looking fresh within a week.
Which tool cuts an edge
Three tools do this job, and they are genuinely different.
A half moon edger is the purpose built option: a flat crescent blade on a long handle, made for one motion and nothing else. If you have long formal borders and you want the crispest possible line, it is the specialist and it is very good at this.
A digging spade cuts an edge and then also does every other job in the bed, which is why most gardeners edge with one rather than owning a single purpose tool. It is the practical choice for mixed borders where you are edging, dividing and planting in the same afternoon.
A powered edger makes sense for long runs of hard, dry ground or where you are cutting against a path. For bed lines in soil, it is usually more machine than the job needs.
Our own tools sit in the second group. The D handle garden spade is double patented, and the blade is curved like a shovel to carry material while the edge is pointed and sharpened like a spade, so it cuts the line and then lifts the wedge out without a second tool. The long handle version suits people who would rather work more upright along a long border. If you are still deciding which shape of tool you want, our spade versus shovel guide covers the difference properly.
Edging materials compared
This is the shortlist. For how deep each material buries and thirteen options compared side by side, see our guide to landscape edging ideas, and for gauge, height and stakes on steel, Cor-Ten and aluminum, its metal landscape edging comparison.
| Type | Best for | Holds its line | Watch out for |
|---|---|---|---|
| Cut trench edge | Curves, informal beds, changing your mind | One season, needs redoing | Collapses if cut too shallow or mulched over |
| Steel or aluminum | Clean modern lines, tight lawn edges | Many years | Steel can rust at cut ends; stake it deep or frost lifts it |
| Plastic or composite | Budget runs, gentle curves | Several years | Rides up over winter; the cheapest grades go brittle in sun |
| Brick or paver | Formal beds, mowing strips | Very long | Needs a proper base or it settles unevenly |
| Natural stone | Cottage and informal planting | Very long | Irregular shapes leave gaps grass grows through |
| Poured concrete | Permanent formal edges | Decades | Effectively permanent; get the shape right first |
| Timber | Raised beds, straight runs | A few years | Rots at soil contact; avoid treated timber near edibles |
How to choose
Start with whether the shape is settled. If you are still moving plants around and the bed will probably grow next year, cut a trench edge and spend nothing. Installed edging is a commitment, and the most common regret is a permanent border around a bed that turned out to be the wrong size.
Then think about how you mow. If you want to run a mower wheel along the border without scalping, a flush brick or paver mowing strip pays for itself in time saved. If you trim the edge with a string trimmer anyway, a cut trench is fine.
Finally, be honest about maintenance appetite. A cut edge is cheap but recurring. Installed edging is expensive once and then mostly silent. Neither is wrong. Pick the one that matches how much time you actually want to spend on borders rather than on plants.
Keeping the edge through the season
Recut a trench edge at least once a year, which is the standard recommendation, and twice keeps it noticeably crisper: once at the start of the growing season and again mid season when growth is strongest. The second pass is far less work than it sounds, because you are following an existing line rather than establishing one.

Between recuts, the edge mostly survives on two habits. Keep mulch back from the lip, and knock back grass runners as you see them rather than waiting for a dedicated weeding session. A runner pulled in five seconds in June is a wedge of established turf in August.
If frost heaves an installed border, reseat it in spring while the ground is still soft. Steel and plastic edging both lift over winter in cold climates, and a border that is standing a half inch proud will catch a mower blade.
Tools for this job
Everything the cut edge and the installed border above call for.

Cuts the vertical line, makes the relief cut and lifts the wedge out without a second tool, then does every other job in the bed.
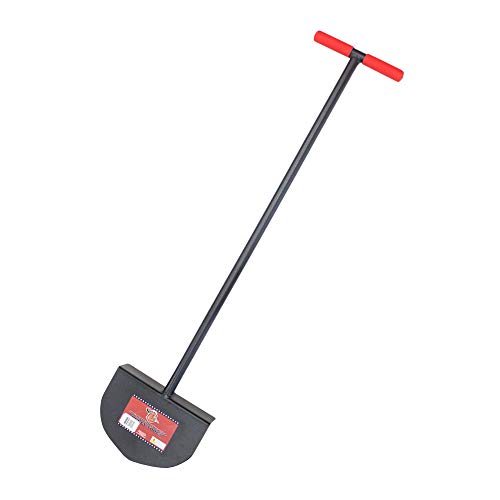
Bully Tools 12-Gauge Manual Lawn Edger, 38 in
The purpose-built half moon edger for long formal borders where you want the crispest possible line.
amazon
Burgon & Ball Lawn Edging Shears
Long-handled edging shears trim the grass runners along the lip between recuts without bending. Barnsdale Gardens' tester found these cut well and give a smart, crisp finish.
amazon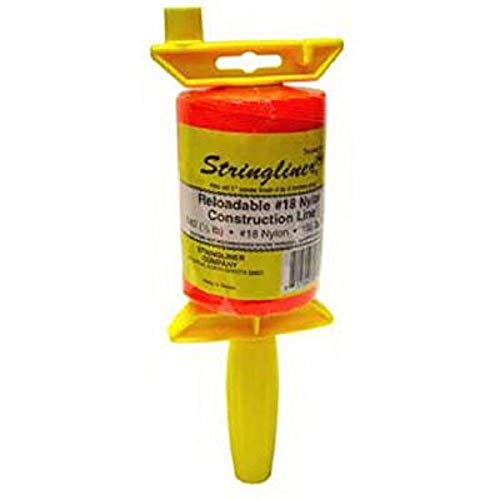
Stringliner 540 ft Twisted Mason Line Reel
For a straight run, stretch a mason line between two stakes and cut to it, so the edge does not wander.
amazon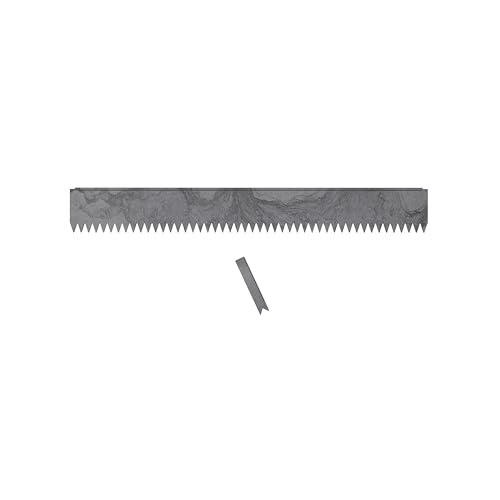
Edge Right Hammer-in Cor-Ten Steel Landscape Edging, 48 in strip, 1 pack
Steel edging holds a clean modern line for years. This 6 inch Cor-Ten strip has teeth that slice in with a light hammer tap, and the maker puts install depth at 2 to 3 inches in most soils, deeper if you want it.
amazonCommon questions
How deep should a garden edge be?
About four to six inches for a cut trench edge. Shallower than that and grass roots simply bridge the gap within a season. Deeper is rarely necessary and takes considerably more effort along a long border.
What is the easiest garden edging to install?
A cut trench edge, because there is nothing to install. Among materials, flexible steel or plastic edging that stakes into the ground is the least demanding, since it follows curves without cutting and does not need a base laid first.
Can you edge a bed without an edging tool?
Yes. A sharp digging spade cuts a clean edge, which is how most gardeners do it. A half moon edger is faster over long formal runs, but it is a specialist tool rather than a requirement.
When is the best time to edge?
When the soil is moist but not saturated. Dry, hard ground fights the blade and gives a ragged line, and waterlogged soil smears and collapses instead of cutting cleanly. A day or two after rain is close to ideal.
How do you stop grass growing into a bed?
Interrupt the runners. A cut trench works because the air gap stops rhizomes bridging into the bed, and an installed border works because it physically blocks them. Either way, the edge has to be maintained: any edge left long enough will eventually be crossed.